


winPenPack Menu User Guide
 | winPenPack Menu Guide Note: this guide still refers to previous version of winPenPack Menu and could be incomplete or containing some errors. If you have any questions please use the forum.  |
 Introduction
In the following description the winPenPack Flash 2 GB suite menu has been used. However, the procedure is absolutely the same for every other suite.
If winPenPack has been correctly installed on a USB flash drive root directory, at the end of the installation, in the Windows system tray ( in the lower right corner of your desktop, next to the clock icon) two new icons will appear, the first flash-drive-shaped and the second a green "check sign":

The flash-drive-shaped icon refers to the winPenPack menu, while the other one (the check sign) refers to X-Cafe, a program that implements the portable associations between files and winPenPack programs (more info about X-Cafe).
When you run winPenPack for the first time (with winPenPack installed in the flash drive root directory) an autorun file autorun.inf will be automatically created; the file allows the menu to automatically start every time you connect your USB device to a host computer. The autorun file has the hidden flag set, since there is no need to work with it, unless in some particular cases.
Note: Some antivirus software may treat autorun.inf as a virus and try to neutralize it (for example, Panda Cloud labels it as “W32/Autorun.JNR.worm”) but, as long as they explicitly refer to the winPenPack.exe executable, it's only a case of "false positive" (sometimes, files with this particular file structure can hide viruses that can infect your PC). All you have to do is set your antivirus to unblock the autorun file. In any case, it is wise to always check the file content first.
If, on the other hand, you installed winPenPack into a hard disk drive folder (preferably not in the root directory), in order to access the menu and let the icon appear in the system tray you need to click on the folder and then double-click on the winPenPack.exe file. By doing so, the menu recognizes it has been installed on a PC internal hard drive, and disables the autorun.inf file generation.
These are the only differences between a flash-drive-installed winPenPack and a hard-drive-installed one. From here on out, winPenPack menu management will be exactly the same for both types of installation.
ProcedureIf you're installing it by unzipping the compressed file (winPenPack Flash 2Gb.zip), you have to click on your flash drive folder or your PC hard drive folder and then double-click on the winPenPack.exe file.
In both cases the two winPenPack icons we mentioned will appear in the system tray, where they will reamain until you decide to exit from winPenPack (from now on wPP) and/or to shutdown X-Cafe. If you leave the USB flash drive connected to your PC USB port after closing wPP, you can use it again later in the same Windows session. All you have to do is double-click again on the winPenPack.exe file.
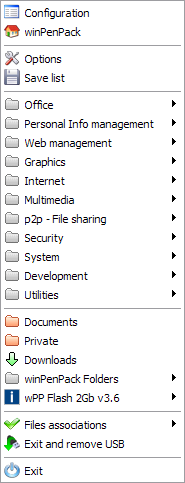
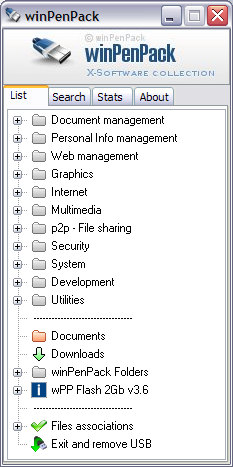
You can manage all wPP operations from the flash-drive-shaped icon: by clicking on it you can access the menu window and the menu configuration window, you can start programs and customize your wPP. The first step is to open the wPP menu window, by left-clicking once on the pendrive icon (Note: if you doble-click on the same icon you will open the menu configuration window instead):
Tree menu in system tray:
Menu configuration window:
Note: wPP is organized in such a way that you can start all wPP programs both from the system tray and from the configuration window, although the former option is usually the easiest.
Go to page >>
Copyright © winPenPack 2005-2023 - All rights reserved
Powered by e107 website system | winPenPack License Agreement
Terms of Use | Privacy Policy

Powered by e107 website system | winPenPack License Agreement
Terms of Use | Privacy Policy